Dry Skin SOS: Winter Skincare Guide
Cold weather destroys your moisture barrier. Here is everything to adjust in your routine to keep dry skin hydrated and healthy through winter.
Winter is an assault on dry skin. The cold outdoor air holds less moisture, and the heated indoor air is even drier. You’re moving between the two all day, and your skin barrier takes the hit every time. Add in hot showers (because it’s cold and you deserve warmth) and the occasional wind exposure, and you’ve got a recipe for tight, flaky, irritated skin that no amount of wishful thinking can fix.
If you have dry skin year-round, winter amplifies everything. If you have normal or combination skin, winter can temporarily push you into the dry category. Either way, you need a different approach once the temperature drops.
We’ve tested this winter routine through three cold seasons now, adjusting and refining each year. Here’s the version that consistently keeps our driest team member’s skin comfortable, hydrated, and healthy from November through March.
What Winter Does to Your Skin
Understanding the problem helps you solve it:
Low humidity. Cold air holds less water vapor than warm air. When you step outside, the dry air pulls moisture from your skin. When you go inside, the heated air is also dry (heating systems reduce indoor humidity to 20-30%, compared to the 40-60% your skin prefers).
Compromised barrier. Cold temperatures slow down your skin’s natural lipid production. Your moisture barrier (the lipid layer that keeps water in and irritants out) weakens, leading to increased transepidermal water loss.
Increased sensitivity. A weakened barrier means your skin reacts to products and environmental factors it normally tolerates. That serum that was fine in September? It might sting in January.
Reduced cell turnover. Cold weather slows down the skin’s natural exfoliation process, leading to a buildup of dead skin cells that cause dullness and flaking.
The Winter Routine for Dry Skin
Morning
Step 1: Cream or Oil Cleanser (No Foaming)
Put away the gel cleanser until spring. Foaming agents strip the natural oils that your dry skin desperately needs in winter. Switch to:
- A cream cleanser that leaves a slight film of moisture
- A cleansing oil that emulsifies and rinses clean
- Or simply rinse with lukewarm water (our driest tester’s winter morning routine is just water)
Temperature matters. Use lukewarm water, never hot. Hot water strips natural oils and damages the barrier. We know a hot face wash feels amazing in winter. It’s also one of the worst things you can do for dry skin.
Step 2: Hydrating Toner (Multiple Layers)
This is where the Korean “7-skin method” shines for dry skin in winter. Take your hydrating toner and apply 3-5 thin layers, patting each one in before adding the next. Each layer adds hydration to the skin, building up a reservoir of water in the outer epidermis.
Look for toners with hyaluronic acid, glycerin, panthenol, or aloe. Avoid anything with alcohol or astringent properties.
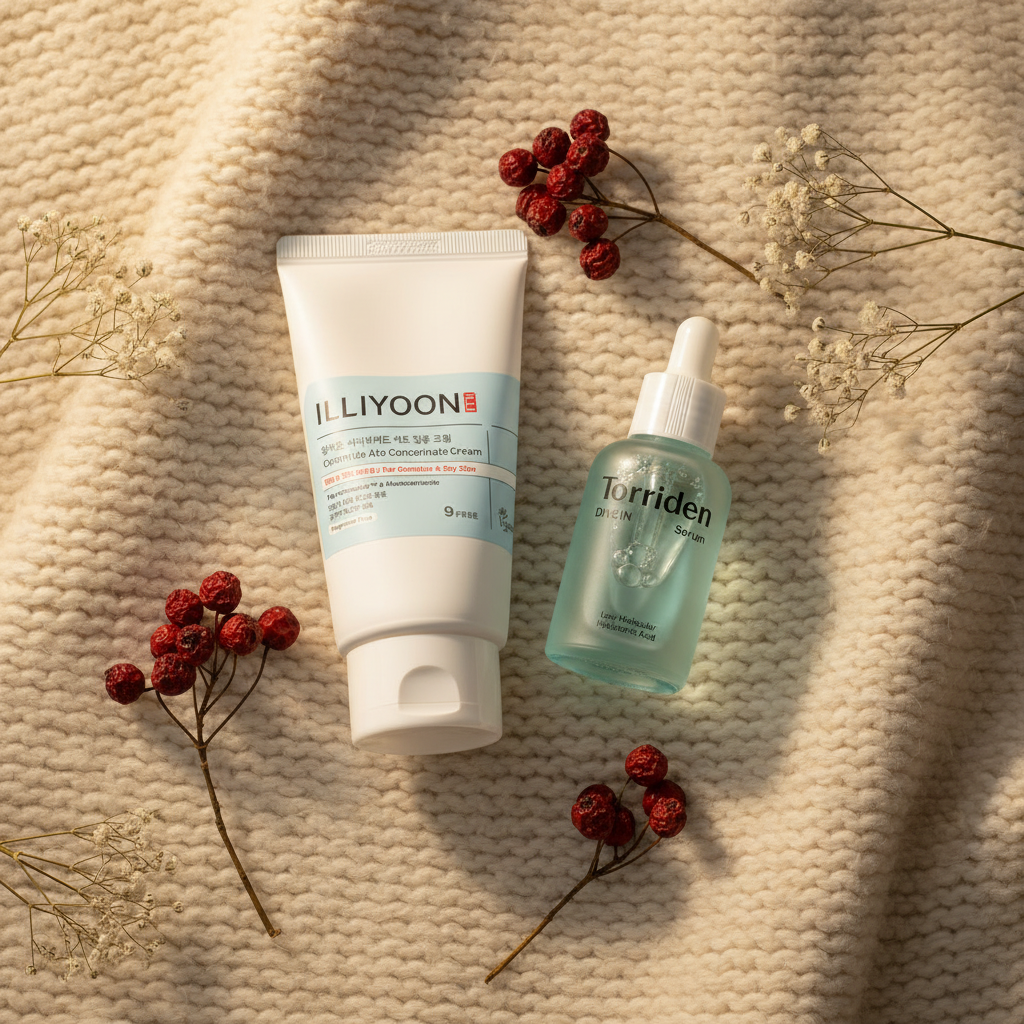
Step 3: Hyaluronic Acid Serum (on Damp Skin)
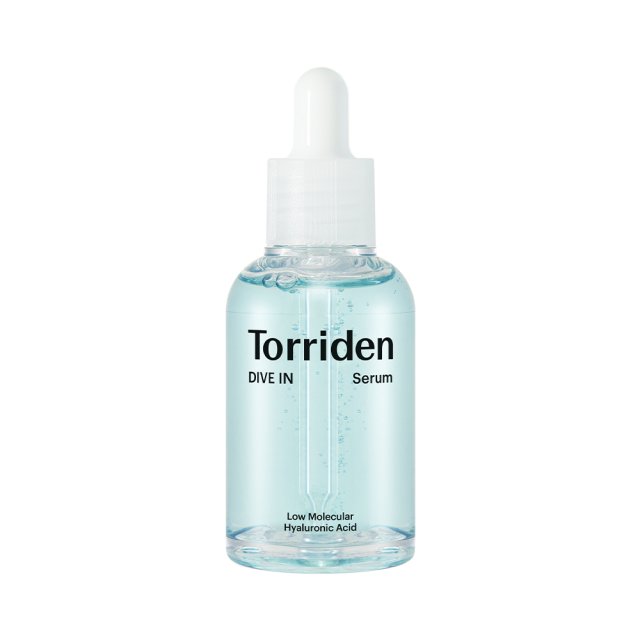
Apply immediately after your toner, while skin is still damp. In winter, this step is critical because the low humidity means HA needs help finding water to bind. The moisture from your toner gives it something to work with.
In very dry environments, you may want to skip pure HA and use a serum that combines HA with emollients. This prevents the HA from pulling water out of your skin when there’s none in the air.
Step 4: Facial Oil
This is the step that transforms winter skincare for dry skin. A few drops of facial oil (squalane, rosehip, marula, or jojoba) applied over your serum creates an additional moisture-locking layer.
Pat the oil in gently. Don’t rub. It should feel like a thin, nourishing layer, not a greasy coating.
Step 5: Rich Moisturizer
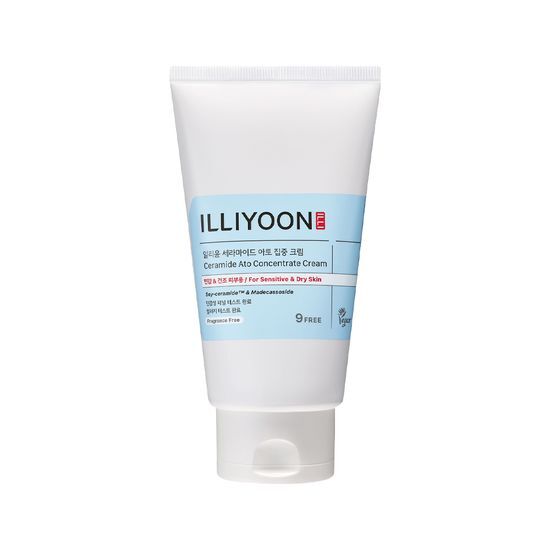
Not a gel-cream. Not a lightweight lotion. A rich, ceramide-based cream that acts as the final seal on all the hydration you’ve just layered. This cream is your barrier stand-in, compensating for the natural lipids that winter weather depletes.
Key ingredients to look for: ceramides, cholesterol, fatty acids, shea butter, squalane. Products that contain all three (ceramides + cholesterol + fatty acids) in the right ratio mimic your skin’s natural barrier most effectively.
Step 6: Hydrating Sunscreen
Yes, even in winter. UV rays don’t take vacations. Snow actually reflects UV, increasing exposure. Choose a sunscreen with moisturizing properties (many Korean sunscreens include hyaluronic acid or ceramides in their formulas).
Evening
Step 1: Oil Cleanser
Gentle oil-based cleansing to remove sunscreen and the day’s environmental exposure. Massage for a full 60 seconds to thoroughly dissolve everything, then emulsify with water and rinse.
Step 2: Cream Cleanser
A hydrating second cleanse. Your double cleanse in winter should feel nourishing, not stripping. If your skin feels tight after cleansing, your cleansers are too harsh for the season.
Step 3: Hydrating Toner (Multiple Layers)
Same as morning. 3-5 layers patted in.
Step 4: Treatment Serum
In winter, you may need to dial back your actives. Retinol and acids can increase dryness and sensitivity. Here’s how to adjust:
- Retinol. Reduce frequency (from every other night to 2 nights per week) or switch to a gentler form (retinyl palmitate or encapsulated retinol).
- AHAs. Reduce to once per week maximum, or switch from glycolic acid (strongest) to lactic acid (gentler and actually hydrating).
- BHA. Generally fine to continue, as salicylic acid is less drying. But reduce if you notice increased sensitivity.
- Vitamin C. Usually fine to continue. Switch to a gentler derivative (ascorbyl glucoside) if L-ascorbic acid stings.
Step 5: Rich Night Cream
An even richer formula than your morning moisturizer. Night is when your skin’s repair mechanisms are most active and when transepidermal water loss peaks. Your night cream should be the thickest, most nourishing product in your routine.
Step 6: Sleeping Mask (2-3 Nights per Week)
The final layer. A sleeping mask (or sleeping pack) is an occlusive treatment that sits on top of everything else, preventing any moisture from escaping overnight. Think of it as cling wrap for your skincare. Apply a thin layer as your last step and let it work while you sleep.
On nights when your skin feels particularly parched, this is the step that makes the biggest difference by morning.
Winter-Specific Additions
Facial Mist
Keep a hydrating mist at your desk. When indoor heating dries out the air, a few spritzes of thermal water or a hyaluronic acid mist refreshes your skin. Follow with a dab of moisturizer to seal the moisture (otherwise the mist just evaporates and takes your skin’s moisture with it).
Lip Care
Lips have no oil glands and suffer dramatically in winter. A nourishing lip balm during the day (with SPF) and a lip mask at night are non-negotiable for the cold months.
Hand Cream
Your hands have fewer oil glands than your face and are constantly exposed to cold air and frequent washing. A rich hand cream applied after every hand wash makes a significant difference.
Humidifier
Not a skincare product, but one of the most effective winter skin investments. Running a humidifier in your bedroom at night keeps the air at 40-50% humidity, dramatically reducing overnight moisture loss from your skin. If you do one thing from this entire guide, buy a humidifier.
Foods That Help Dry Skin
Your skin’s hydration comes from both the outside (products) and inside (diet and water intake):
- Water. The obvious one. Stay hydrated. In winter, you may not feel as thirsty, but your body still needs the same amount of water.
- Omega-3 fatty acids. Found in salmon, walnuts, flaxseed, and chia seeds. Support the skin’s lipid barrier from the inside.
- Avocado. Rich in healthy fats and vitamin E that support skin barrier function.
- Sweet potato. High in beta-carotene, which the body converts to vitamin A (the same family as retinol).
The Winter Ingredient Checklist
Must-Haves
| Ingredient | Why |
|---|---|
| Ceramides | Rebuild the weakened barrier |
| Hyaluronic acid | Attract and hold moisture |
| Squalane | Mimic natural sebum |
| Glycerin | Humectant that draws water to skin |
| Shea butter | Rich emollient for sealing moisture |
| Panthenol (vitamin B5) | Soothes and helps retain moisture |
Consider Adding
| Ingredient | Why |
|---|---|
| Centella asiatica | Soothes winter irritation |
| Honey/propolis | Humectant and healing |
| Colloidal oatmeal | Calms itching and irritation |
| Allantoin | Softens and soothes rough skin |
Scale Back
| Ingredient | Why |
|---|---|
| High-concentration retinol | Too drying in winter |
| Strong AHAs (glycolic 10%+) | Compromises already-stressed barrier |
| Alcohol-based products | Strips essential moisture |
| Fragrance | More irritating to sensitized winter skin |
Transitioning Between Seasons
Don’t wait until your skin is already suffering to make winter adjustments. Start transitioning your routine in late autumn, when the heating first comes on and humidity starts dropping.
October. Switch to a cream cleanser. Add a facial oil. November. Introduce a sleeping mask. Increase toner layers. December-February. Full winter routine. Prioritize barrier repair. March. Start lightening up as humidity returns. But don’t rush. Wait until your skin tells you it’s ready.
The worst thing you can do is maintain your summer routine through winter and then panic when your skin revolts in January. Proactive seasonal adjustment prevents the problem entirely.
The One-Sentence Summary
Winter skincare for dry skin is about layers: multiple layers of hydration, sealed with oils and rich creams, protected by occlusives, supported by a humidifier. More moisture in, less moisture out. That’s the entire strategy.
Keep Reading
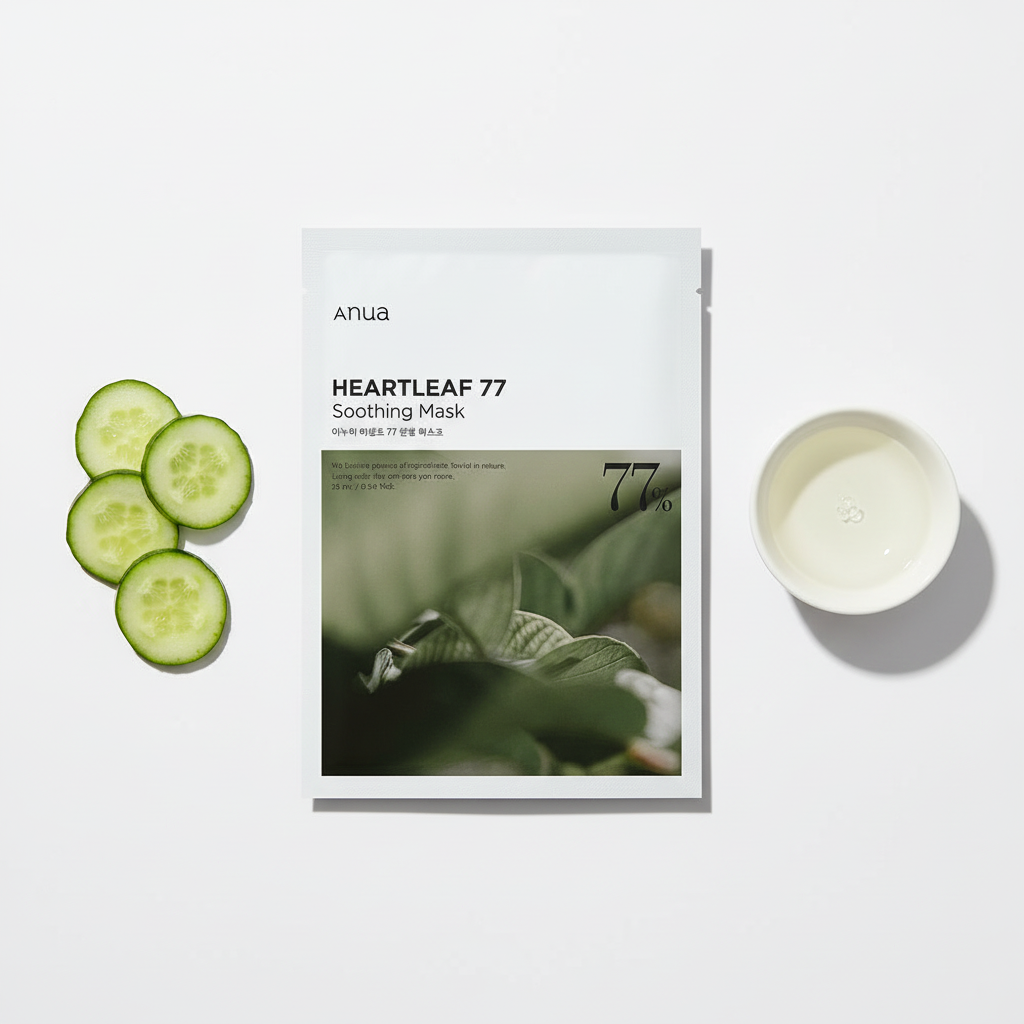
Sheet Masks: How Often Should You Use Them (and Best Picks)
Sheet masks are a K-Beauty staple, but how often should you actually use them? Plus our favorite picks for hydration, brightening, and soothing.
What Is Glass Skin and How to Get It
The K-Beauty glass skin trend explained: what it actually means, why it's different from just 'glowy' skin, and a step-by-step routine to achieve it.
Oily Skin Routine That Controls Shine
Oily skin doesn't mean you need harsh, stripping products. This routine controls shine and keeps pores clear while actually keeping your skin healthy.
Get the Glow
Weekly skincare breakdowns, ingredient deep-dives, and honest reviews. straight to your inbox.